Today we are going to learn how to morph faces. We are going to make this image below.

[ the final product ]
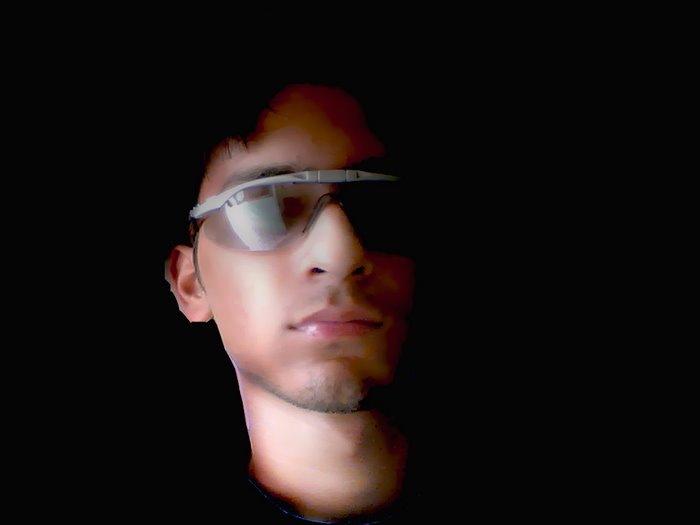
Now, don't get worried, it looks much harder then it really is. I made this image from these two pictures:


 | Note |
| In this tutorial you will see letters in parentheses next to the names of tools. This is the keyboard shortcut for the tool. All you do is press that letter and it will bring up that tool. Keyboard shortcuts are a great way to save time and make the design process go more smoothly. | |
The following steps will explain how to create the above effect in Photoshop:
- We are going to use the yoda picture as the base, and add the kid's face into it. First open both pictures with Photoshop. Then using your Rectangular Marquee Tool (M),
 select the area of the kid's face that we want, and then switch to the Move Tool (V)
  and drag the selection onto the yoda picture:


- The next thing we have to do is match the sizes of the faces, so that they will be proportionally matched as best as possible. You will typically shrink down the larger image instead of enlarging the small one so that we retain the quality of the smaller one. We are going to shrink down yoda.
Select the yoda layer and then go to your top menu bar and select Edit > Transform > Scale. Then hold down the shift button while you are resizing so that the image resizes to scale and use the handlebars on the corner of the layer to resize the yoda image until his face is the same size as the kid's face. The transformation will not apply until you press enter, so you can feel free to let go of the handlebars and click on the yoda image body and reposition it so that you can match it accurately. It is helpful to pick a certain feature of the faces to align each other with.
This feature may vary depending on the faces and positions, but typically it will be somewhere in the 'T' zone (the eyes and nose of the face) because this is the most distinguishing part of the face. In this one we will match the subjects' outside eye. Once you are happy with the size, press enter and the transformation will be applied:

[ scaling the yoda image down in size ]
| | Tips |
{ Tip 1 }
It is good practice to name your layers. This makes it easy to recognize what is on them and keeps things better organized. To name them either right click and select properties or just double click on the name of the layer. I like to color code them as well. To color code a layer, just right click on the eye next to the layer that shows if it is visible and select a color from the dropdown menu: 
{ Tip 2 }
It might help you to zoom in on the picture in this case, because the images are small and it will help you size it better. Select the Zoom tool (Z)  and then go to the top toolbar and select 'Fit on Screen'. and then go to the top toolbar and select 'Fit on Screen'.
{ Tip 3 }
To match the faces accurately, set the top layer's opacity to 60% (the kid's face in this instance). You set the opacity in the layers panel.  | |
Save your file if you have not done so already. Press Control + S, name it, and then select where you want to save it on your computer. In the future, save frequently. From now on, you just need to press Control + S to save.
- Now it is time to match the angles of the faces. In this case, yoda's face is angled slightly to the right, so we are going to rotate the kid's face to match it. Select the kid layer. Go to your top menu and select Edit > Transform > Rotate. Then rotate the face by grabbing the handlebars. Press enter when you are done.
- Now we want to erase the parts of the face we don't need. This image is excellent since the outmost eyes line up very nicely. Set the opacity of the kid layer to 80% so that you can see it better.
Then use the Erase Tool (E)  with a #45 feathered brush to erase the bulk of the parts of the face. Don't get too close to the main parts of the face. We will come in closer with a sharper brush to clean it up, but right now we don't want to lose any opacity on the main kid's face.
Set the kid's opacity to 100%. Now use a #13 feathered brush to erase the forehead, and eyebrows, and any other bits of face that we don't need.

[ Starting to look neat, huh? Save your file again. ]
- Now we are going to change the color of the kid's face to green. Go to the top menu bar and select Image > Adjustments > Hue/Saturation (Control + U). Make sure the preview box is checked so that you can see the effects on your image. Then check the colorize option. This adds color evenly to the image. Now mess around with the hue, saturation, and lightness until it matches the skin tone.
This time we used Hue: 69, saturation: 22, lightness: 0. Press OK or enter when you are done:

[ image after making the above adjustments ]
- Now if we look at our image so far, the main part of the kid's face (the t-zone) is not defined enough, in other words, too much yoda is showing through. Right click on the kid's layer and select duplicate layer. Ahh, isn’t that better?
Now we are going to merge everything together, but first we want to make backup layers, in case we make a big boo-boo and can't change it for some reason. Right click and select duplicate layer for the yoda layer and one of the kid layers. Then rename them and color code them if you'd like. Now you should have 5 layers.

Take the backup layers, and put them underneath the other layers and select the eye icon next to them in the layers palette to make them invisible. Now select one of the top three visible layers, and click the little box directly to the right of the visibility box in the other two visible layers. This is the link box. It will make a little chain link when something is linked.
Then select the arrow in the layers palette and select Merge Linked. You could also have selected Merge Visible, since we are only working with visible layers at this point. Now we have one visible layer.

| | Tip |
| If you make a mistake and want to undo it quickly, press Control + Z. This will become your best friend. | |
- We are now going to use a fun tool called the Healing Brush tool (J)
 to smooth over some of the edges, so there is a smooth transition to the face, and we can add some texture as well.
 Healing Brush note: This is similar to the Clone Stamp tool (S)  , but it is significantly better in some cases, and easier to use. The way it works is you select an area to copy with the tool and then you paint with the pixels that you copied with the tool. This is the same concept as the clone tool, but the clone tool makes hard edges and just pastes the pixels exactly. The healing brush however, mixes the pixels that it is pasting in with the image below it, so that you get a much smoother transition. The color will blend better, and the texture will match better. It is excellent for photorealistic work like we are doing.
Use a #10 Healing Brush and place it close to an edge you want to smooth on the yoda face. Hold down the alt key and left click to copy the pixels. Release the mouse. Then move the mouse so it is over both edges and click again. See how it smoothes out the transition? Do this for the chin, jaw, and cheeks of the face. Don't worry about the nose or eyes yet. I created the line across the face using the healing brush. Practice with this tool can give you excellent results.

- Now we have one big problem. The bridge of the noses doesn't line up. This part can get a little tricky, so you may want to get up and stretch and get a root beer and a cookie.
 Reward yourself for doing so well so far!
 OK, now that you feel refreshed, come over here and select the Lasso Tool. (L)  We are going to cut out the yoda nose, and rotate it so the angle matches the angle of the kid's nose.

Once it is selected, go to the top menu and select Edit > Transform > Rotate, and then rotate the bridge until it lines up. Now we need to use the clone stamp to make a smooth transition of the bridge and add some texture to the kid's nose. Select the Clone Stamp (S) and use a #9 feathered brush. Make the brush’s opacity set to about 60% and use the same method as described earlier with the Healing Brush to pick up pixels off the Yoda nose and paste them onto the Kid's face. Mess around with the opacity of the Clone Stamp to get the desired effect.
Now we are going to fix the gaps in the nose bridge. Use the Smudge tool (R)  with a #9 brush to smudge the gaps over from the bridge to the rest of the nose area. You might need to use the clone stamp as well. Now our nose should look significantly better. The face is almost done now !

- Now comes the hardest part, so buckle up your safety belts and keep your hands in the vehicle. We have to add highlights and shadow to the face with the Brush Tool (B)
 to make it look like it has the same lighting as the yoda face did. If we don't do this, it will look flat and unrealistic. Make a new layer on top of the image for your manual painting.
 Use the Eyedropper Tool (I)  to select colors that are already in the yoda so that our painting looks natural. Use an array of feathered brushes with the brush tool to get the effect you want. You can also try playing around with the opacity of the paint you are putting up in the top menu bar.
Below is the Image without the painting (1), the image with the painting (2), and the painting on a grey background (3), this way you can see what I did clearly:
Congratulations!!! We are almost done. Your yodaman should be looking pretty neat right now so we just have one more thing to clean up, and that is the portion of yoda's face that is still coming out of the right hand side. That is quite simple, all we do is use the eyedropper tool to select the color of the surrounding area, and paint over the little bits of face.
And that's it! You have now successfully made a morphed face! Take a deep breath, pat yourself on the back, and get another cookie. You can be proud for now you can turn your friends and family into funny creatures and other such fun things.
[ wohoo! you are done ]
If you have any questions, feel free to post them.........
thankz