Adobe Photoshop is perhaps the most powerful photo-editing software on the market. However, from this power stems a very complex program. It’s quite difficult to figure out many aspects of Photoshop yourself, so that’s where tutorials come in. This tutorial will explain a very simple trick in Photoshop, which, until explained, seems somewhat difficult.
With this tutorial, we will go on an adventure with fill patterns!
Creating Scanlines:
- Let’s begin. Open Adobe Photoshop. This tutorial should work for both Photoshop 6 and 7, I will be using 6 for this tutorial.
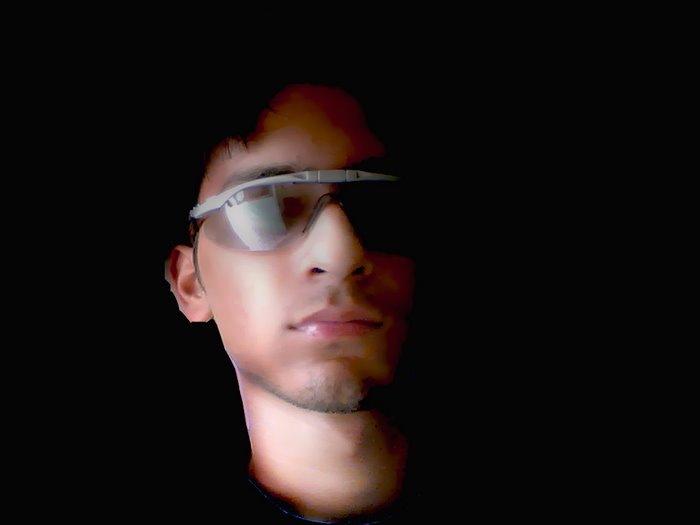
- Often times it is fun to experiment with your new skills on a stock photo. Below is the photo I will be playing with. This is a bit of Zell, a character in Squaresoft’s Final Fantasy 8:

[ the photograph before any alteration ]
- Since this tutorial is about fills, let’s make our fill pattern. The first, and easiest, pattern will be a simple set of scan lines. Scan lines are often used on websites, and here I’ll show you how to make them. Point your mouse to File | New. Set the measure to pixels, width 1, height 3. 72 pixels/inch, background transparent. OK.
- Zoom in all the way, 1600%. Select the pencil tool, and make sure opacity is 100%. Set the foreground color to black, and make a single black pixel at the top of this picture.

[ zoomed in picture ]
- Press Control + A, or point to Select | All. Now, with that selected, point to Edit | Define Pattern. Name it something zesty like “Scan line,” and press OK. Close the document you just created, don’t save. Open up your stock photo, and re-save it with a “1” (without quotes) after its name (example: zell1.jpg). This way you don’t screw up your original image.
- In your stock photo, create a new layer. In the new layer point to Edit | Fills. In Contents, select Pattern. Select your new pattern in the Custom Pattern box. When it’s selected, click outside the list of patterns to make the window go away. Leave the mode at normal and the opacity at 100, we can change these later. Press OK.
- Now your picture looks like it’s behind shutters. Interesting effect, but not the desired one. Press Control + I or point to Image | Adjust | Invert to invert the selection. Now the lines are white, and still not what we want. But closer. Change the layer opacity to.15%. There we go.

- Well the scan lines are fun, but let’s try something else. Delete the scan line layer from your stock photo, and create a new image. Let’s say 8 pixels by 8 pixels. Draw something like this:

- Make it into a fill (select all, Edit | Define Pattern.), and put that over your stock image (new layer, Edit | Fill). Interesting. However, not quite what I wanted. Lets try something else, and this time use more than one fill. Delete the fill layer on your stock photo. Duplicate the photo twice, so you have three layers, all with the same thing. Now delete the locked background. You should now have two layers of the same image.
- Create three new blank layers, one on the bottom, one between the two image layers, and one on top:

- Excellent. Set the foreground color to white, and paint bucket the bottom layer with white. The paint bucket is dangerous to have in hand, so change your tool back to the pointer. Ok, now select the layer in the middle. Point to Edit | Fill. and find that noisy looking patter called “Wrinkles.” Comes standard with Photoshop. Press OK. Select the top image layer, the second layer from the top. Right-click and select Enable Layer Mask.
If it won’t let you, as my Photoshop often does to me, do like so: Point to Layer | Add Layer Mask | Reveal All. For some reason this always fixes my problem. Anyway, select the layer mask. Fill with the funny looking pattern we made above. Your picture might look a bit strange, but that’s ok, just wait a minute. Select the top layer, Edit | Fill. and fill with that funny quicksilver looking stuff called “Satin.” Comes standard with Photoshop.
- Hah, now you can’t see anything! That’s ok. Change the top layer’s style to Overlay. Change the middle most layer’s style to Overlay also, and lower it’s opacity to about 50. Select the second to last layer, and drop the opacity to about 75.
- There ya go, you’ve got a really funny looking picture thanks to some fills. Show that to your friends


No comments:
Post a Comment