This is a nice and simple-to-apply effect for turning your images and pictures into a two tone bitmap style. Photographs generally work the best with this, and it's always helpful to have a picture that isn't too dark or too light. If it's leaning towards either end of the spectrum, you'll end up with a finished picture without many clear distinctions. More about that later.
Creating the image
- Open up the image you would like to manipulate, either in gif or jpg format. It doesn't particularly matter which one, just make sure you set the Mode to RGB if it isn't already. You can do this by clicking on Image in the toolbar, then Mode and RGB.
You'll also need the image on it's own layer, so cut and paste it into a new one.
 |
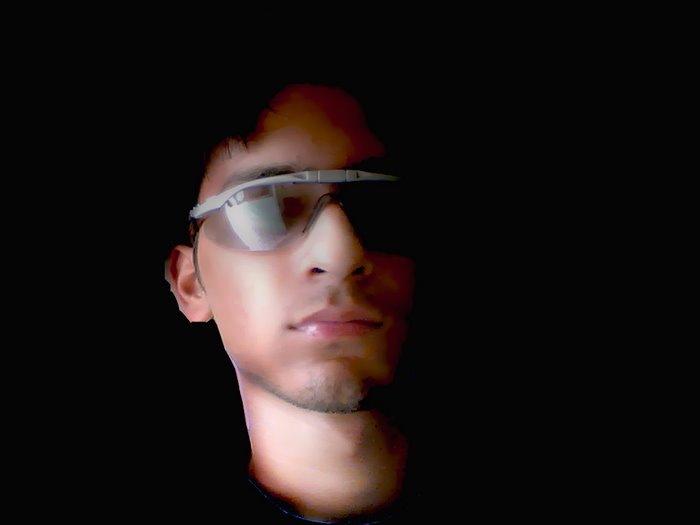
[ starting image ]
- Using the Layers Panel, select the layer with the photograph on. At the bottom of this panel you will find a selection of filter and effects icons. From these, pick the fourth icon from the left (the one that looks like a black and white bisected circle), as indicated on the image below. This creates a new Fill or Adjustment layer over the top of the selected layer.

[ apply an adjustment layer ]
- A new pop up menu will appear, offering you a choice of layers to apply to the image. For this effect, choose the one second from the bottom - Threshold. Immediately you'll see a change in your image, as well as a new box with a sliding scale. Grab hold of the scaling arrow with the mouse, shift it along the bar and see what happens to your photograph.

[ threshold sliding scale ]
- The further you move the scale to the left, the lighter the picture becomes. By moving to the right, the image gets blacker and darker. This is why it is important not to have a too light or dark image in the first place, as Photoshop will have trouble separating the areas. A little playing around should give you an effect that you like, something similar to the picture below.

[ threshold applied to image ]
- Once you're happy you can merge the two layers and save it out. Want some colour? If you like, you can create a new layer above the merged one and block fill it with a colour of your choice. With the new layer highlighted, choose 'Multiply' from the drop down blending menu at the top of the Layers panel. Now your picture will look something like this.

[ adding some colour ]
And that's it! Try experimenting with different colours, pictures and blending modes to achieve new and interesting graphics.


No comments:
Post a Comment